I was looking at baby mobiles and pieced together a bunch of them into what a wanted - a product that didn't exist. Of course, that sounds about right. So I made it! And I ventured out and learned a new skill - felting. I looked up a bunch of tutorials of really intricate, beautiful pieces that were way beyond my skill level. My skill level being that I had no idea what I was doing. But I ventured out anyways, and it was really easy. Not the intricate stuff, even after this project my mind can't wrap around how people made some of those things.
But my little sheep turned out so cute, I'm ridiculously proud of them and if you ask me how I am you will see a picture.
Here's the easy way that you can make adorable felted...anything. Here's what you'll need:
- Felting wool, called roving wool(I found mine at Hobby Lobby. Also found online at amazon.com)
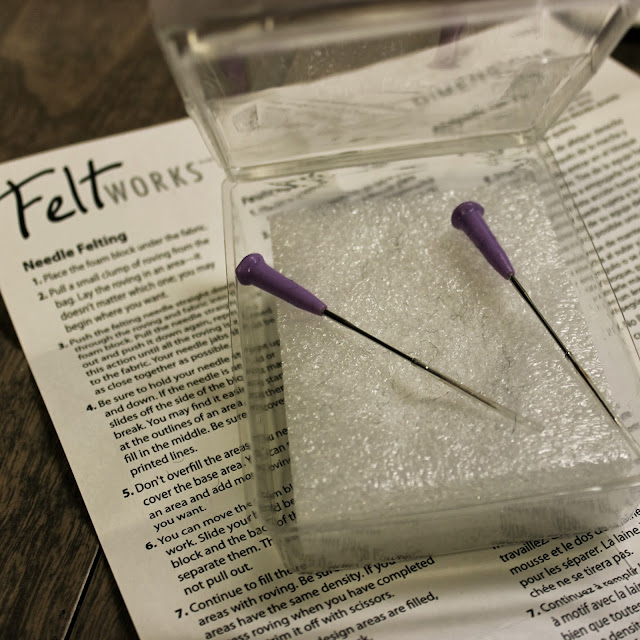
- Felting kit- you could technically use needles and some stryofoam, but this kit was just a few dollars and was worth it!
- Pattern (I picked an image from google)
- Material to base pattern off of
Total time was a right around two or three hours. I spread it out during tv shows and movies. And I was teaching myself and making six sheep. It went really fast when I got going, just depend on your project size.
The work station:
Start with tracing your chosen pattern onto some material - I used some felt because that's what I had. It doesn't have to be exact, as you can see, mine is a mess! It's up to you and your OCD attention to detail, I like that all my sheep ended up unique.
Cut out your pattern. Take a little bit of wool and lay it over the pattern. The wool needs to be big enough to cover your pattern, but you'll fold pieces over to make it fit to your pattern exactly.
Put your wool and pattern on your felting block. I started with the edges. Fold the excess wool and manipulate it to fit the contours of the pattern. Take your felting needle and jab around a whole bunch until the wool starts to stick. Once you've gone around the whole edge, start in the middle.
When one side is done, repeat on the second side. If you aren't using your creation for 3D purposes then you just need to felt on side. On some of my sheep I took one piece of felt and tried to do the back and front at the same time, to avoid seams and such. It worked okay, but got a little awkward.
The little black embellishments were a little tricky. The reason felting works is that all the fibers stick together and get mashed and weaved together into a shape (essentially, someone who knows what they're talking about would use correct terminology). But the little pieces were hard to weave together since there isn't much there. I ended up rolling them and then felting them, it helped a lot. Just a little fyi if your project has little parts :)
For the black sheep I used a sharpie to darken the edges. Ideally you'd use the same color base material as the whatever the bulk of your project is. I didn't want to go buy any black felt, so I made do.
Here is one the I used one piece of wool to do the front and back - no seam, but it was a little awkward to manipulate the pieces.
This one has a little seam from where the front felting and the back felting join. This way was a little easier, so I decided that this would be hanging far above my babies head, so it looked great :)!

To make the round part of the mobile I wrapped it in bakers twine. I used the inner part of a needlepoint loom.
Here are the instructions from the felting kit I got (which was under $5):
My little felting kit :
:
You really don't need much wool. I bought two packages and only used one for six sheep.


I Love this soooo much! You should be ridiculously proud, I couldn't dream up a better mobile. I need to get a felting kit!
ReplyDeleteThank you! I find myself just staring at it :). Thanks for stopping by and commenting; love comments!
DeleteThat's adorable!
ReplyDelete